Once upon a time, I had an obsession with organizing everything. I collected multiple plastic bins and stacked them everywhere around my room, filling them up with clutter.
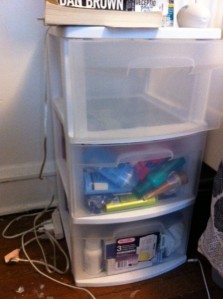
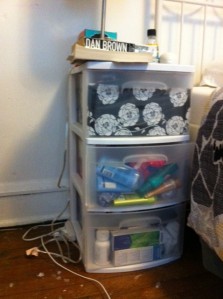
Unfortunately, while these drawers are incredibly useful,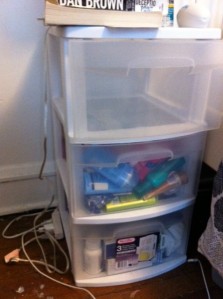
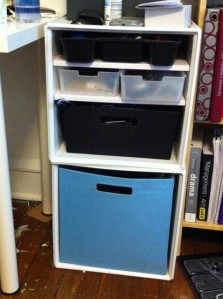
they aren’t as attractive as my organizers drawers from Target:
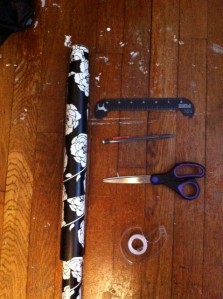
That’s why this week I decided to do what I’ve been putting off all semester and revamp my plastic drawers. This is incredibly easy, all you need is fun paper (I used some discount wrapping paper from Target), scissors, ruler, a pencil, and double stick tape.
1. Empty out the drawers and measure their sizes.
2. Measure that out on your paper and cut rectangles in the correct sizes.
3. This is where it gets tricky, to line the paper on the sides of the drawers, put the double stick tape on the inside of the drawers, not the paper. I first tried putting the tape on the paper and had problems smoothing it out against the drawer. It’s easier to put tape in the four corners of the drawer, a piece along the top, a piece a long the bottom, and one in the center. Then line up the bottom of the paper (with the fun side facing out) with the bottom of the drawer, center it, and press it against the side of the drawer. I had to try this multiple times to see what actually worked and had the paper line up correctly without a lot of bubbles or wrinkling the paper.
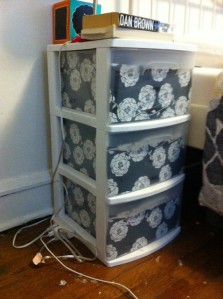
4. Repeat that for each side of the drawer and then repeat for each drawer. I only did 3 sides since the back faces the wall, but you can definitely do all 4 sides.
And you’re done! The drawers look much more attractive now.



Comments
Comments are closed