In my opinion, the best gifts are the ones that you made. That’s why I’m always a big fan of making baked goods for friends. However, I know some of you aren’t big on baking, so why not try making jewelry for your friends?
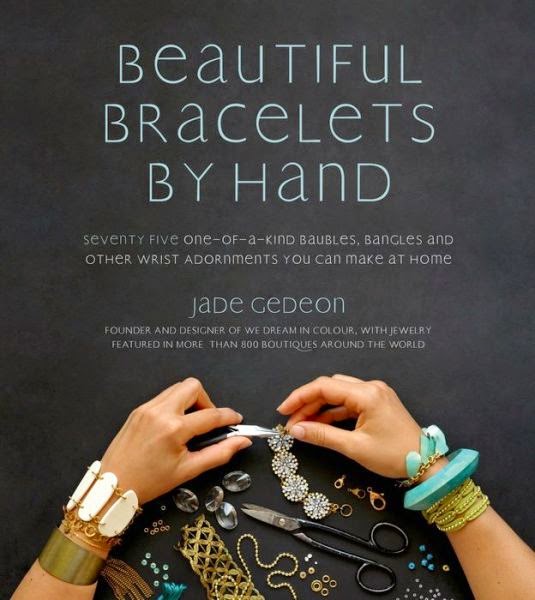
Today I’ve partnered up with We Dream In Colour to share one of their bracelet DIY’s AND give away a copy of their new book, Beautiful Bracelets by Hand. Give this DIY a try and then enter the giveaway so you can win a copy of the book! Also, if you think this book would make a good gift for a friend, you can head over to amazon and pre-order it! Otherwise, Beautiful Bracelets by Hand will be released on Tuesday, December 9th.
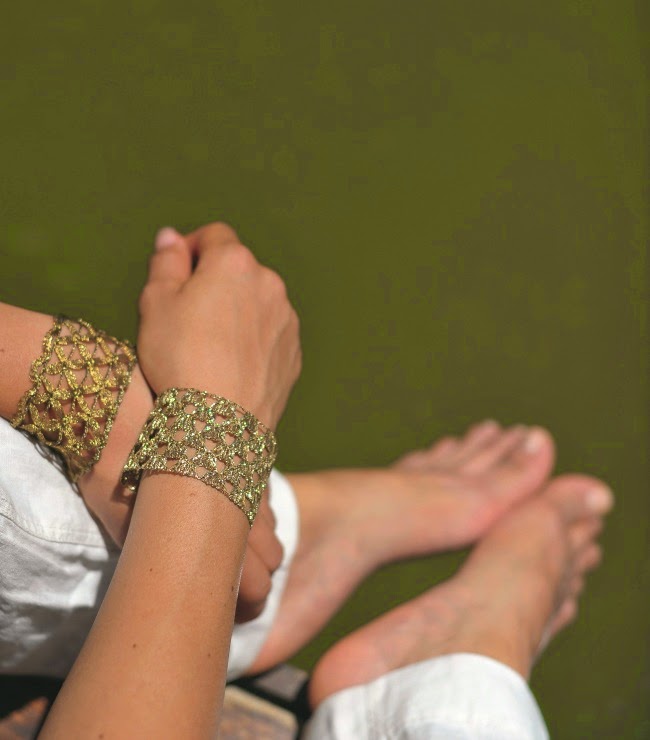
Lace Cuff
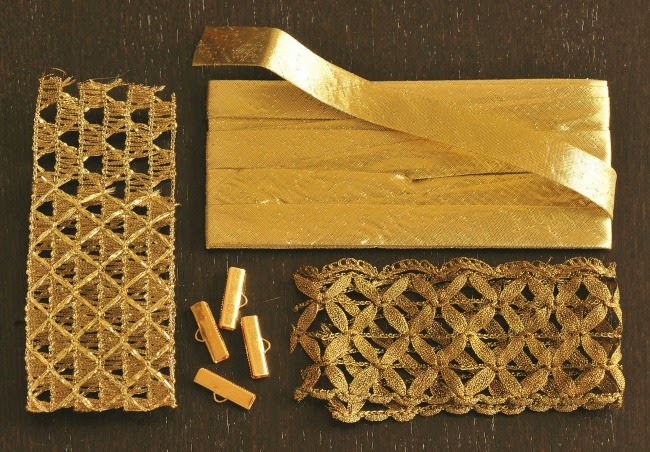
BITS YOU’LL NEED
• Two 7″ (17.8 cm) lengths of lace ribbon (we
used 2¼” [5.7 cm]-wide ribbon)
• Bias tape
• Four 19x5mm ribbon crimp ends
• Two 4x6mm jump rings, 18 gauge
• Two 10mm jump rings, 18 gauge
• Two 12x6mm lobster clasps
TOOLS
• Scissors
• Chain-nose pliers
• Flat-nose pliers
• Nylon-jaw pliers
• Hot glue gun
1. Big wrist? Small wrist? Wrap ribbon around your wrist so it is slightly loose.
Trim so there is about a ½-inch (1.3 cm) gap between the ends. Cut your bias tape about ½ inch (1.3 cm) longer than your ribbon width.
2. Fold the excess bias tape into itself and crease. Do this on the top and bottom edge.
3. Since you’ll be using HOT glue, take care not to burn yourself. Press any edges down with a piece of card or a spoon rather than your fingers unless you don’t mind a blister or three. Now that we are clear on that, with a few dots of hot glue, stick the top and bottom folds down. Sandwich your ribbon edge in between the folds of the bias tape. Apply a few small dots of glue and fold and press (again with a card or something without nerves) the bias tape over the ribbon.
4. Center the ribbon crimp on the bias tape. With a pair of nylon-jaw pliers, firmly close the crimp onto the ribbon. Attach a 10mm jump ring to one end. Attach the lobster clasp with a 4x6mm jump ring to the opposite end.
5. Make another. That way one wrist won’t be jealous.
And now you can enter to win your own copy of Beautiful Bracelets by Hand


Comments
Comments are closed