Note: As your reading this post, I need everyone to knock on wood and keep your fingers crossed for me. Why? Well, because last time I wrote a “Blog Better” post related to email, my email staged a protest and stopped functioning for a week.
My email shutdown had absolutely NOTHING to do with the information in that post or today’s post, but that doesn’t mean I can’t be terrified of jinxing it by writing another post about email clean up, right?? For the record though, my email shutdown because I was in the process of switching hosts and I didn’t switch over the email address correctly.
Moral of the story? If you’re going to DIY, have a professional on call just to be safe.
Now on to the blogging tips!
Though it may not seem like it at first, email is a HUGE component of the blogging world. Why? Well, you’ll manage a majority of your collaborations, recipts, and communication there. In addition to needing to know about your current and past collaborations, a lot of this information will also be useful for taxes, so it’s important to know where to find things!
During my last blogging tips post, I talked about email forwarding and signature features in Gmail, but today I want to focus on filters and folders. Gmail is pretty amazing in the sense that it’s created a number of tools that if used well, can make your life about 23423423 times easier.
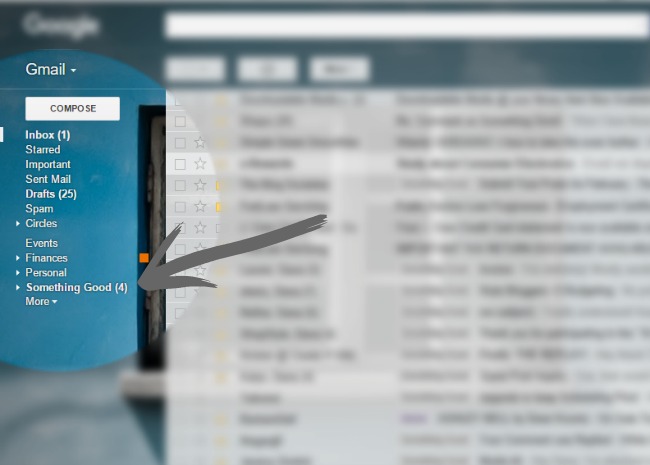
The first thing I want to cover is Labels/Folders (I use them interchangeably here, but I mean the same thing). Similar to a filing cabinet, gmail gives you the ability to set up labels where you can sort your emails for easy reference later. For Something Good, I have labels for receipts, collaborations, taxes, and different affiliate programs I belong to.
To set up a folder:
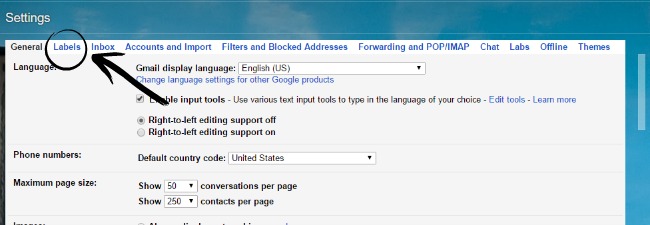
1. Go to your settings and then select the “Labels” tab.
2. If you scroll down, you’ll see a button that says “Create new Label,” select that.
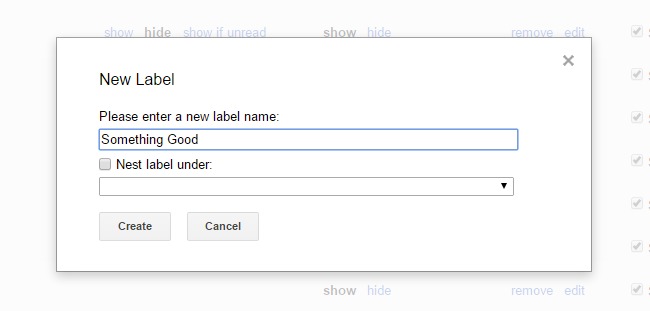
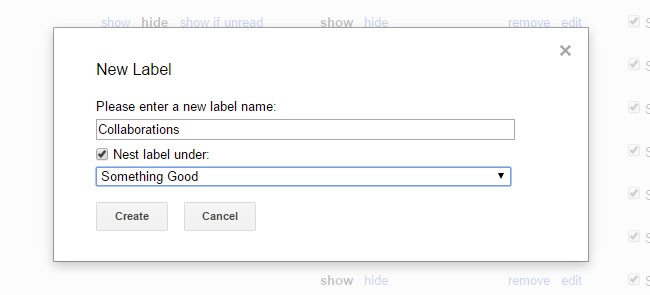
3. A pop up will appear for you to create a new label name. Since my gmail has three different accounts forwarding to it, I like to have a folder specifically for Something Good. Enter the label name and click create! This will be your main blog label.
Once it’s created, check the “Show in label list” dropdown to make sure that you’ve selected “Show” or “Show if unread.” This way, if there’s an unread email in that label, you’ll know.
4. After you’ve created that first blog label, hit the create button again and pick your first category. Type that in as a new label and then select the box for “Nest label under:”. In your dropdown menu, select the folder that you just made for your blog!
You can repeat step 4 until you’ve created all of the labels that you need.
5. Make sure that you adjust your settings for “Show
That’s all for now! In my next tutorial (which is coming soon, I promise), I’ll show you how to use email filters so your can utilize these labels even more!




Comments
Comments are closed