First, let me clear up some confusion. Yes, I’m aware that it’s Sunday and I’m posting Saturday’s Something Good. To make a long story short, my computer hated me and then I had to go up to a wedding yesterday, so the post couldn’t make it up in time. It happens.
Either way, here’s a new DIY for you! I’ve loved this hat for a while, but my wallet couldn’t handle the $400+ price tag. As I looked it over though, I realized that it could make a pretty fun and easy (but time consuming) DIY.
Before starting, I should not, I did some embroidery and sewing when I was younger, so I already felt comfortable with this project. If you’ve never tried either before, I’d suggest practicing following a pattern on some scrap cloth!
Directions
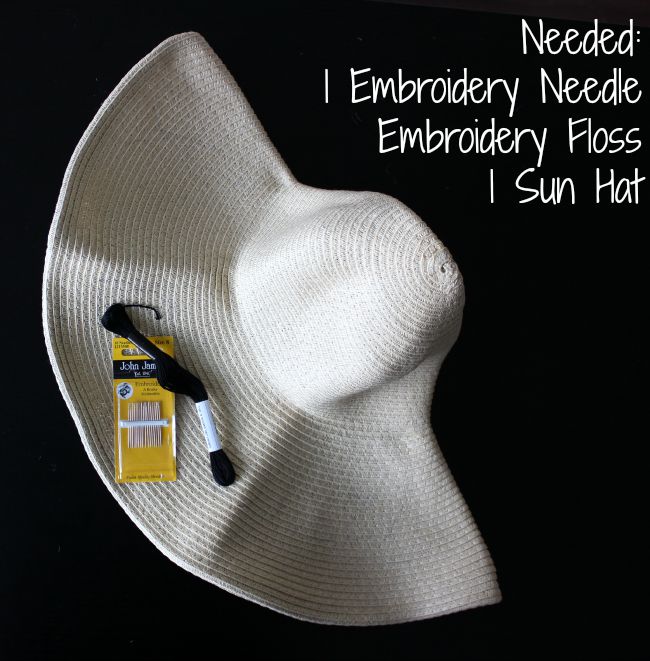
1. Assemble your supplies. All you’ll need for this DIY is Embroidery Floss, an Embroidery Needle, and a big floppy sun hat.
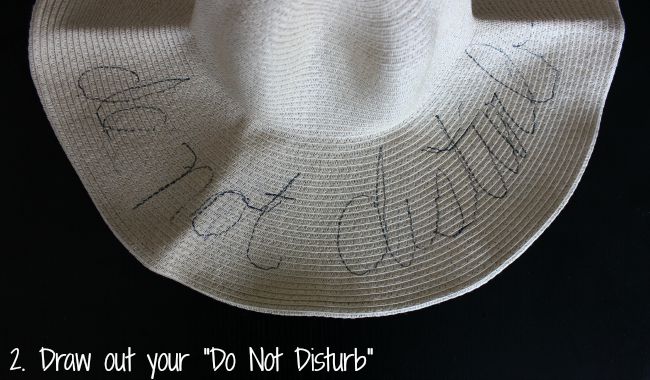
2. Use a pen or pencil to trace out the “Do Not Disturb” on your hat (or whatever phrase you want to include). I then went over it again with a marker so it would be a little easier to read, plus I used washable marker so I could dab it off later).
3. This is probably the most time consuming step. Sit down and begin to embroider! Okay, maybe easier said that done, but I swear this is simple. Just loop the thread through the needle and tie a knot at the end so it stays in place. Then thread the needle through the bottom of the hat to the top and follow your outline. I chose to cut and knot the thread in between words to make my life a little easier (and avoid tangles). Also, stick with your personal style, but remember that cursive is easier since the letters are all connected.
I also choose to leave off the ribbon, but if you want to include that, you can either use a hot glue gun to attach the ribbon or if you’re handy with a needle, sew it on.
4. Enjoy your pool time undisturbed.


Comments
Comments are closed